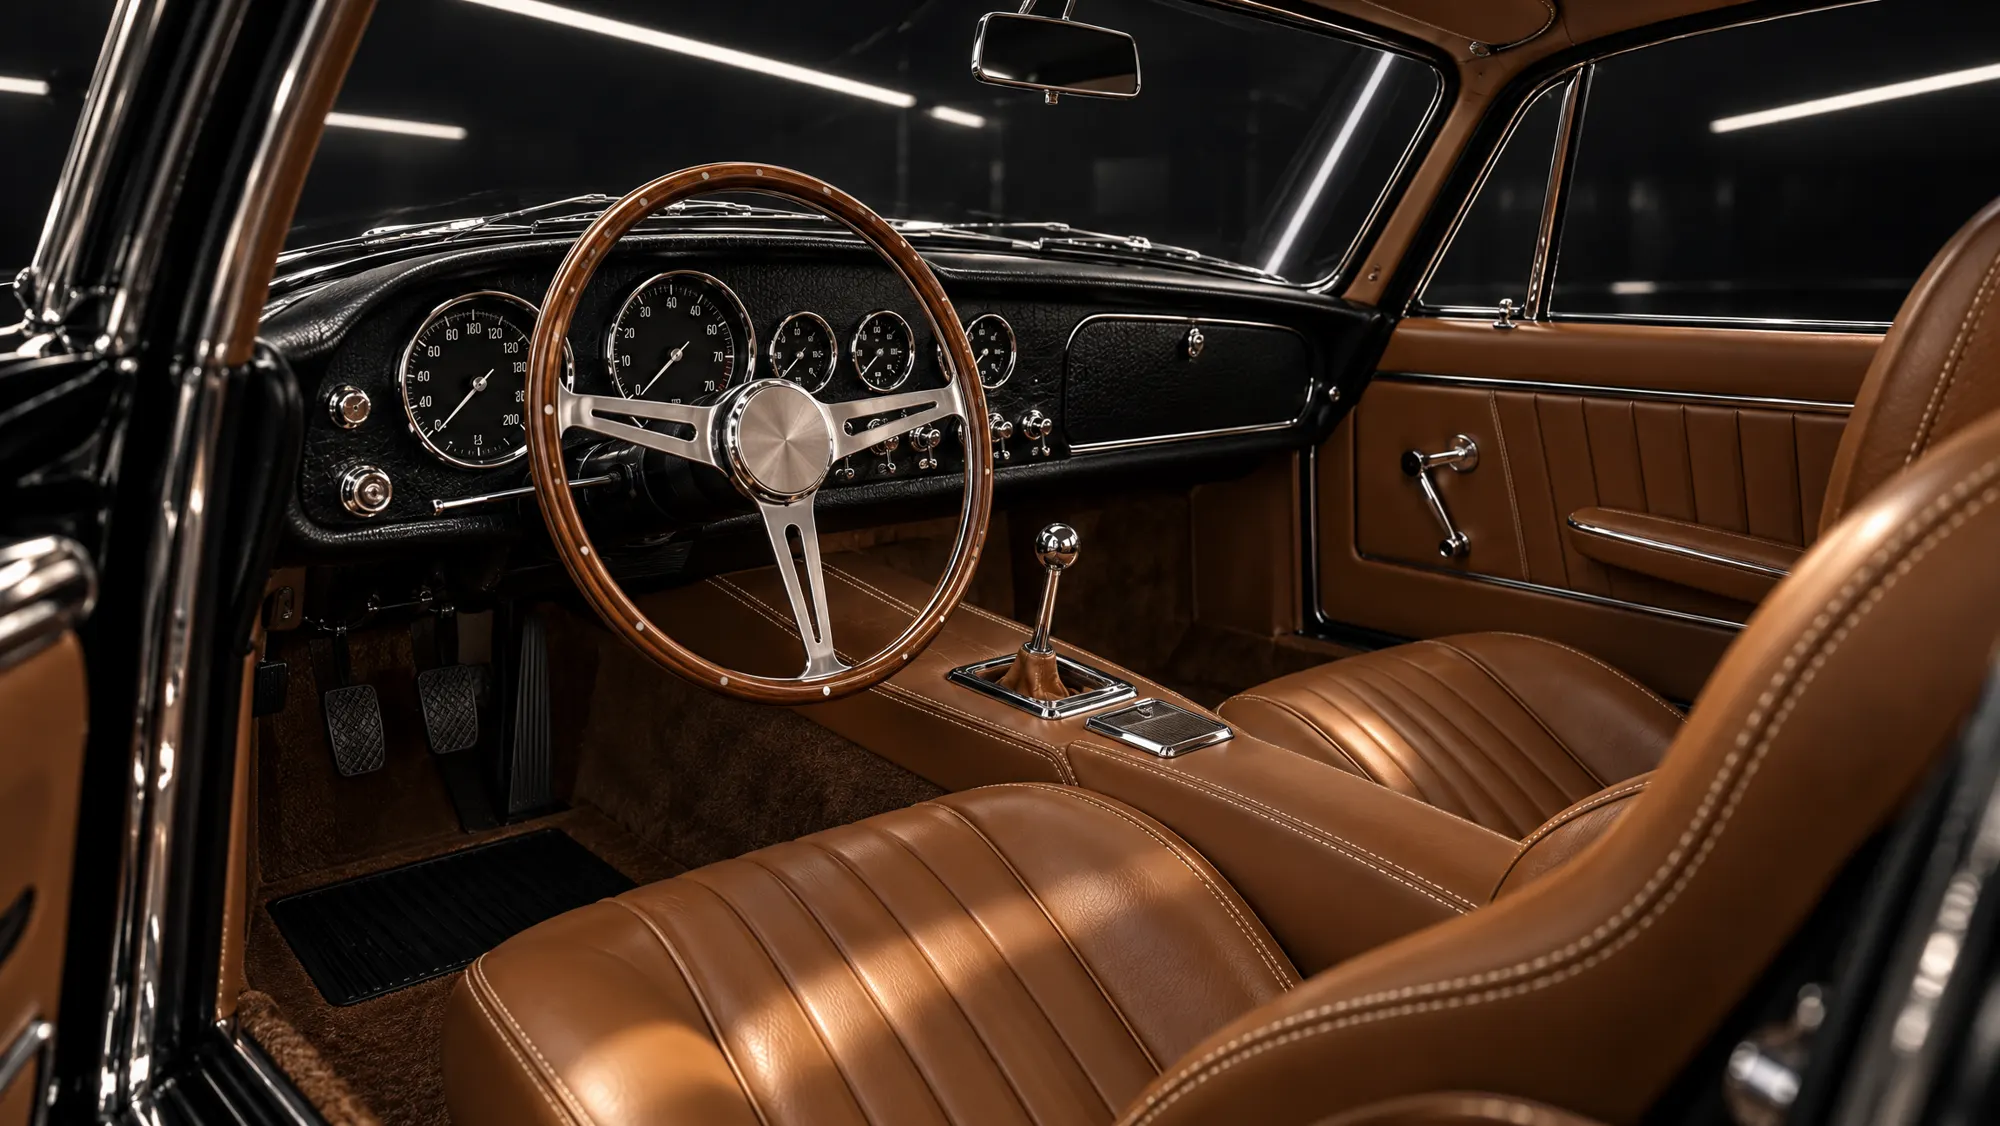
You take a car seat out by disconnecting the battery, waiting the time your manual gives, unplugging the seat wiring, and unbolting the seat from the floor. Treat it as a safety job first and a cleaning job second, because seats can contain airbags, seatbelt pretensioners and occupant sensors.
You may not need to do it at all. Most seats slide far enough to clean the carpet in two passes, one with the seat forward and one with it back. Pull a seat only when a soaked floor or something trapped underneath truly calls for it.
This page stays general on purpose. Procedures differ by vehicle, so your owner’s manual or the factory service manual overrides anything here.
What’s in the seat
- Side airbags. Many front seats have one built into the seat itself.
- Seatbelt pretensioners. These tighten the belt in a crash, and mishandling one can fire it.
- Occupant sensors. Front passenger seats often have sensors that help the car decide whether the passenger airbag should be on or off.
All of that runs through wiring under the seat, so you can’t just unbolt it and carry it away.
When to hire a pro
Read this before you pick up a wrench. Leave the job to a dealer or qualified repair shop if any of these apply:
- You can’t get the manufacturer’s procedure for your exact year, make and model.
- The airbag light is already on.
- It’s a front passenger seat and the procedure calls for recalibration afterward. Toyota’s service information for the FJ Cruiser, for example, lists removing that seat as a reason to run a zero point calibration and sensitivity check. That isn’t a driveway job.
- The car is a hybrid or EV. Follow the manufacturer’s disable steps exactly or let a shop do it.
- The car has been in a crash or a flood.
- Any seat wiring is damaged. Subaru’s training material says never to repair wiring in the airbag system, and that a damaged harness must be replaced.
- A connector won’t release, or you aren’t sure what it does.
Time, difficulty and what you need
Time: Plan on half a day for your first seat, and longer if you’re cleaning the floor while it’s out.
Difficulty: Advanced. The wrench work is simple, but mistakes aren’t cheap to fix.
What you need:
- Your owner’s manual and the factory service procedure for your exact vehicle
- The sockets or Torx bits that procedure calls for
- A torque wrench
- A helper, because seats are heavy and awkward
- Work gloves, since seat frames can have sharp edges
- A phone for photos, plus bags and labels for bolts
- A clean blanket
How to take the seat out
-
Read the whole procedure first. Note the battery wait time, the torque specs, and whether the bolts can be reused. Wait times differ by manufacturer, so never borrow a number from a forum or another car.
-
Check the dash. Turn the ignition on and make sure the airbag light comes on briefly and goes out. If it stays on, stop here and get it checked.
-
Position the seat. Power seats won’t move once the battery is off, so slide the seat to reach the bolts now. If you have to move it both ways to reach them all, follow the manual on which bolts come out before the battery is disconnected.
-
Take photos. Capture the connectors, the wire routing, the bolts and any trim covers.
-
Turn everything off and disconnect the battery. Follow your manual’s steps. This can erase clock and radio settings, so note anything you care about first.
-
Wait the full time your manual gives. The airbag system stores reserve energy, so it can stay live after the battery is off. Don’t touch a connector until that time has passed.
-
Unplug the seat connectors. Find the lock on each one and release it. If a connector won’t come apart easily, the lock is still engaged, so don’t pull harder. Never pull on the wires.
Never probe yellow connectors. Airbag wiring is commonly marked with yellow harnesses or connectors. Keep test lights, meters and pins away from them. Subaru’s training material warns that an analog meter can cause accidental deployment, and Tesla’s precautions say not to use test equipment on airbag wiring unless every component is disconnected.
-
Release the seat belt if your procedure says to. Follow its steps, and keep grease and cleaners off the pretensioner.
-
Remove the bolts. Bag and label them by position.
-
Lift the seat out with your helper. Don’t drop it, and protect the door sill and trim on the way out.
-
Set it down upright on the blanket. Pick a dry spot away from heat and put nothing on top of it. Treat it as if it holds a live airbag, because it may.
While the seat is out
Clean the floor with as little water as you can. If you’re cleaning the seat too, use the cloth seat or leather seat guide, and wipe the seat sides with a damp cloth instead of spraying them. Polestar’s manual warns against spraying cleaner on seat sides where side airbags are fitted.
Keep every connector dry, and let the floor dry completely before the seat goes back. Mazda warns that liquid on or under the front seats can affect the occupant sensor.
How to put the seat back
- Check the floor. It should be dry and clear. Hyundai and Mazda both warn against leaving items under the front passenger seat.
- Set the seat in place with your helper. Route the wiring the way your photos show, with nothing pinched or stretched.
- Use the right bolts. Some manufacturers require new ones. Tesla’s Model Y procedure, for one, has you discard the seat bolts and fit new bolts. Start each bolt by hand.
- Torque to spec. Use a torque wrench, the torque from your manual, and the tightening order if it gives one. “Good and tight” is not a spec.
- Reconnect everything with the battery still off. Seat each connector until it locks, then give it a gentle tug to confirm. Some connectors have a second lock or slider that also has to be pushed home.
- Refit the belt and trim. Pull hard on the belt to check it’s secure, and confirm the buckle latches and releases.
- Reconnect the battery the way your manual says.
- Do the light check. Turn the ignition on. The airbag light should come on for a few seconds, then go out. Then test the seat controls, the seat heaters and the belt reminder.
- Finish any calibration. If your procedure requires it, have it done before anyone rides in that seat.
If a warning light comes on afterward
Take it seriously. An airbag or SRS light that stays on after the start-up check, or comes on while you drive, means the system has found a fault. The light doesn’t say what failed, so you can’t count on the airbags or pretensioners working in a crash.
- Airbag or SRS light stays on. A connector may not be fully seated. Go back under the seat only after repeating the full battery disconnect and wait. If one careful recheck doesn’t clear it, take the car to a dealer or qualified shop.
- Passenger airbag OFF light with an adult in the seat. Hyundai’s manual says the passenger airbag won’t inflate in a collision in that state. Have the passenger sit upright, restart the car, and if the light stays on, move them to the rear seat and get the system checked.
- Passenger airbag indicator doesn’t come on at start-up. That’s a problem too. Mazda’s manual says not to let anyone sit in the front passenger seat and to see a dealer as soon as possible.
Some faults stay stored until a shop clears them with a tool that can read the airbag system. Don’t cover the light, pull fuses or try online reset tricks.
Common mistakes
- Unplugging seat connectors with the battery still connected.
- Using a wait time or torque figure from another car.
- Reusing bolts your manual says to replace.
- Refitting the seat over a damp floor.
- Ignoring a light because the seat feels fine.
- Finishing the job with a thick seat cover or blanket on the passenger seat. Hyundai and Mazda both warn these can stop the sensor from reading correctly.
For the rest of the cabin, the full interior guide covers the order to work in.
If this is more than the job is worth, a detailer can often do a deep clean with the seats in place, so find one near you and ask how they handle the area under the seats.
Sources (13)
- rts.i-car.com/srs-8800.html
- rts.i-car.com/srs-4572.html
- service.tesla.com/docs/ModelS/ServiceManual/en-us/GUID-45D226...
- service.tesla.com/docs/ModelY/ServiceManual/en-us/GUID-F35C5E...
- automotivetechinfo.com/wp-content/uploads/2020/04/Subaru-Supplemen...
- purefjcruiser.com/docs/2007%20Toyota%20FJ%20Cruiser%20Repair%...
- mazdausa.com/static/manuals/2025/cx-5/contents/03040704....
- ownersmanual.hyundai.com/full_webhelp/NE1a/2025/en_US/id38b37201c66....
- polestar.com/us/manual/polestar-2/2023/article/2ff36b8ab...
- polestar.com/uk/manual/polestar-2/2023/article/e571bc9e2...
- static.nhtsa.gov/odi/rcl/2014/RCONL-14V168-0123.pdf
- manualslib.com/manual/1106868/Mazda-2002-6.html
- manuals.autorepairshq.com/Toyota/2007/Matrix%20L4-1.8L%20%281ZZ-FE%29...